It's been a really long time since my last post! A lot has happened in my personal life between now and then! My husband and I moved overseas for two years and then we had a baby! Now that my sweet girl is 3 months old, I've decided to start posting on this blog again. My past posts have been DIY posts, but I will probably just continue to use this as a way to post my final projects since it is less time consuming! Hope you enjoy what you see here!
|
This is not really a "How To" post. I just wanted to share some pictures of the sugar cookies I made. I don't really like sugar cookies and neither does my husband, but this recipe changed our minds. To quote my husband, "Babe never mind about what I said about sugar cookies. These taste amazing." Also for your reference, he really doesn't ever eat sweets and he ate a bunch of these! You can find the recipe here. 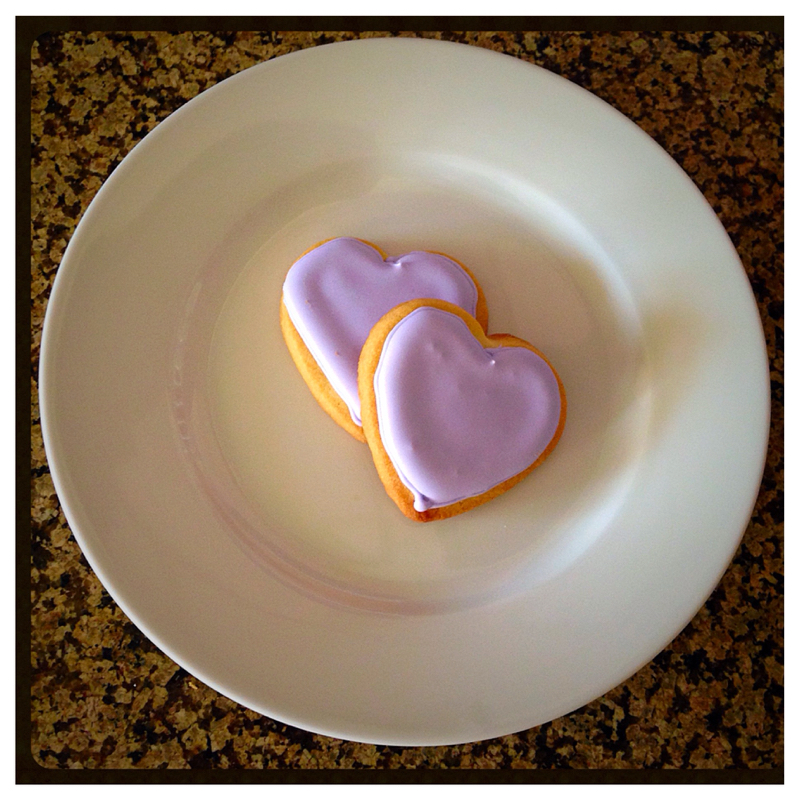 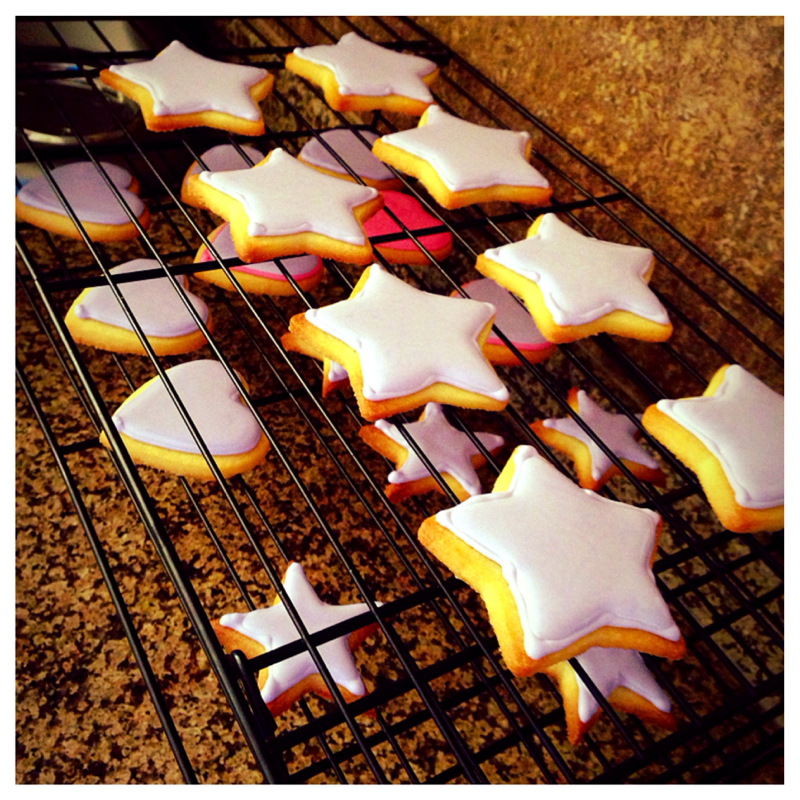 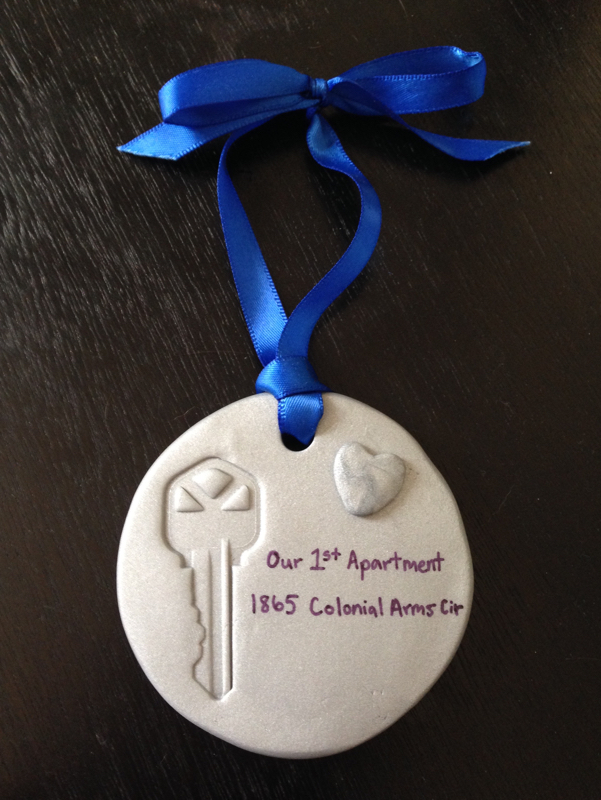 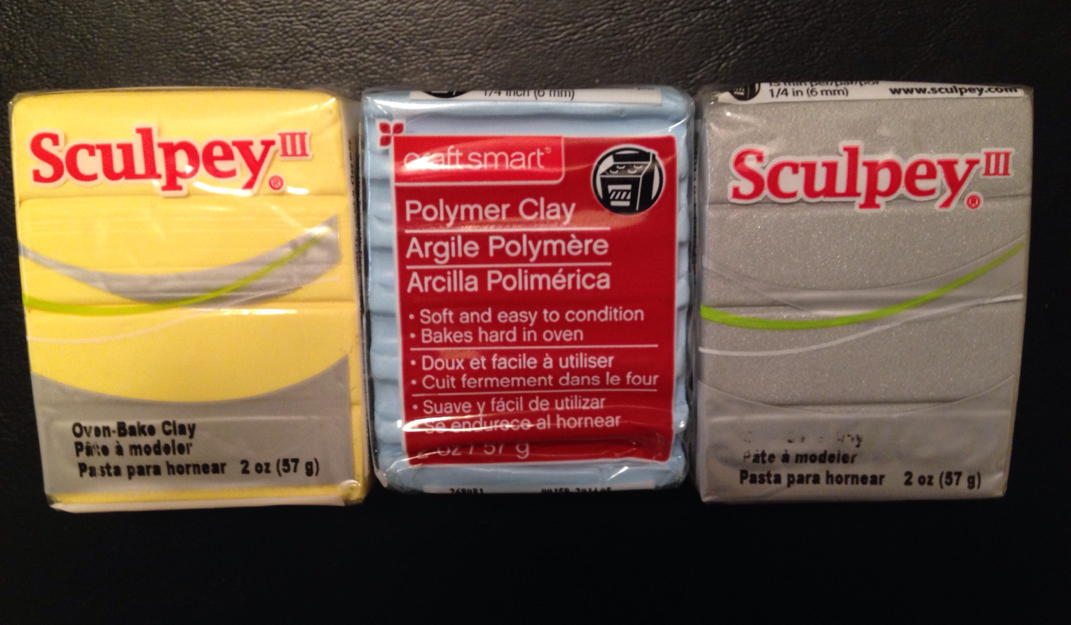 This is the type of clay I used. I bought it at Michael's and it was pretty inexpensive. The Sculpey brand costs more, but it was easier to work with. First, I rolled the entire chunk of clay into a nice, round ball. Then I used a rolling pin to roll it flat, making sure to change angles frequently to keep it a circle shape.  I also used my house key and a drinking straw. I used the straw to make a hole at the top for a string. The piece of clay that was removed by the straw was reformed into a little heart that I put on the right side. Then I just pressed the key into the clay to make the imprint. 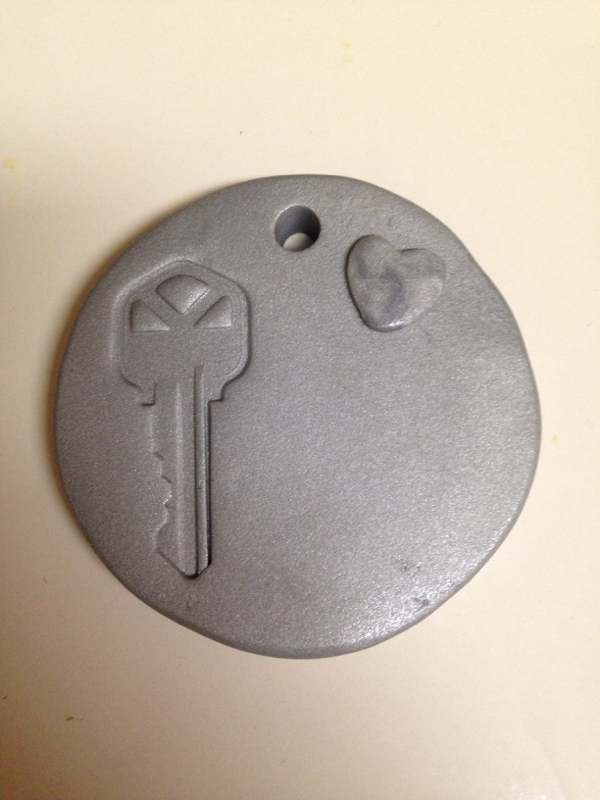 I baked it according to the directions on the clay wrapper and it came out perfect. I finished it off with a ribbon and wrote our address with a thin sharpie marker.
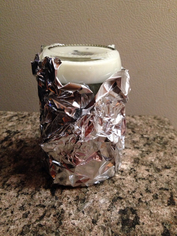
STEP-BY-STEP PROCESS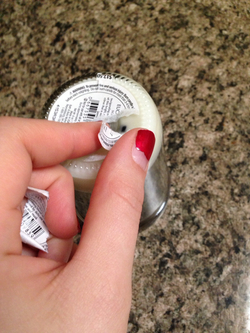 STEP 1: First I peeled off all of the jar labels. You might have to soak the jar in warm, soapy water if the label doesn't peel right off.
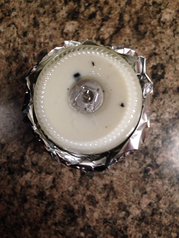
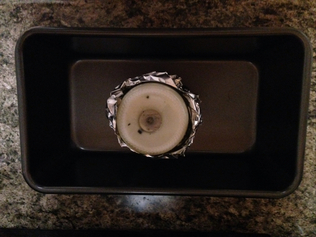 STEP 3: I placed the foil-wrapped jar in an oven safe pan. (Jar remains upside-down.) STEP 4: I put it in the oven for 20-30 minutes at 250 degrees! 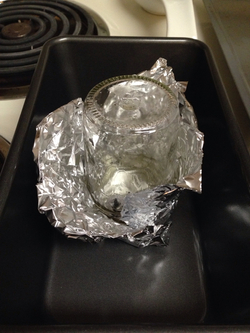 STEP 5: I removed the pan from the oven and carefully removed the foil over the garbage can. (WARNING: WAX IS HOT!) STEP 6: Once the glass had cooled, I washed out the remaining wax residue with hot water and dish soap. It doesn't hurt to throw it in the dishwasher for a deeper clean! 
This was a fun and easy project I did as a gift!
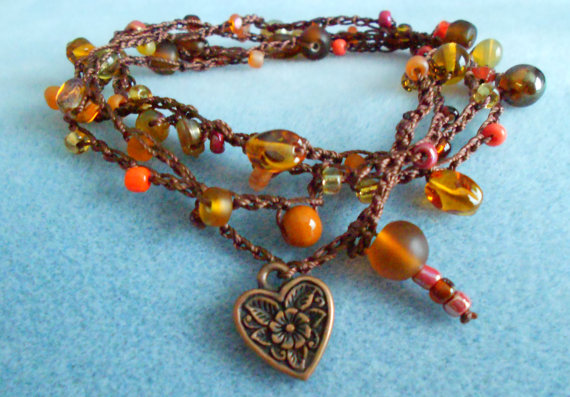
My mother has been making jewelry for as long as I can remember. At one point, she was selling it at craft fairs every weekend. However, after an emotional separation from my father and never-ending health issues, she has shifted to an online business. Knowing my experience with social media, she enlisted my help to rebrand and manage her growing company, Michelle Elaine Designs. 
My mother is so talented. For my wedding, she made me a headband from a recycled wedding gown. She also made custom jewelry for each of my bridesmaids to match their dresses and my jewelry. 
Not only did she make these beautiful jewelry pieces, she also made most of the decorations as well as ribbon flower corsages for my female ushers. Without her talent and help, I would have ended up paying for jewelry and decorations that weren't as elegant or special. To look at some of her jewelry & accessories, visit our Etsy page here. Click each photo to view the listing. :)
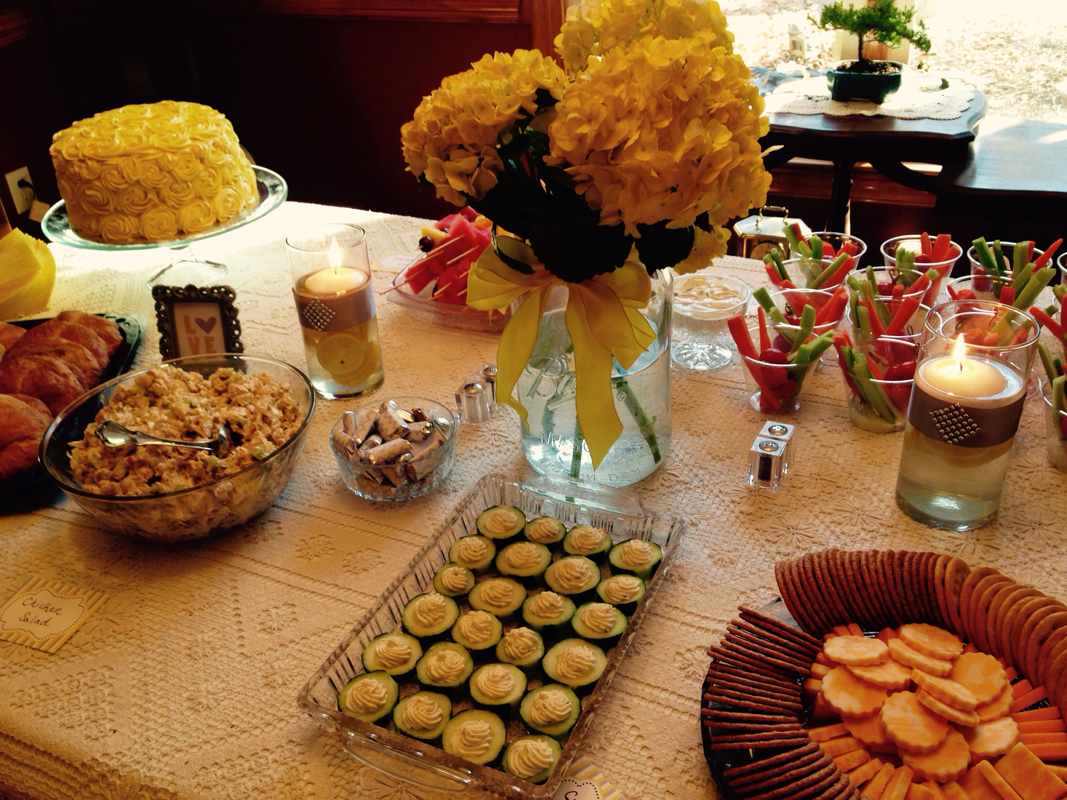
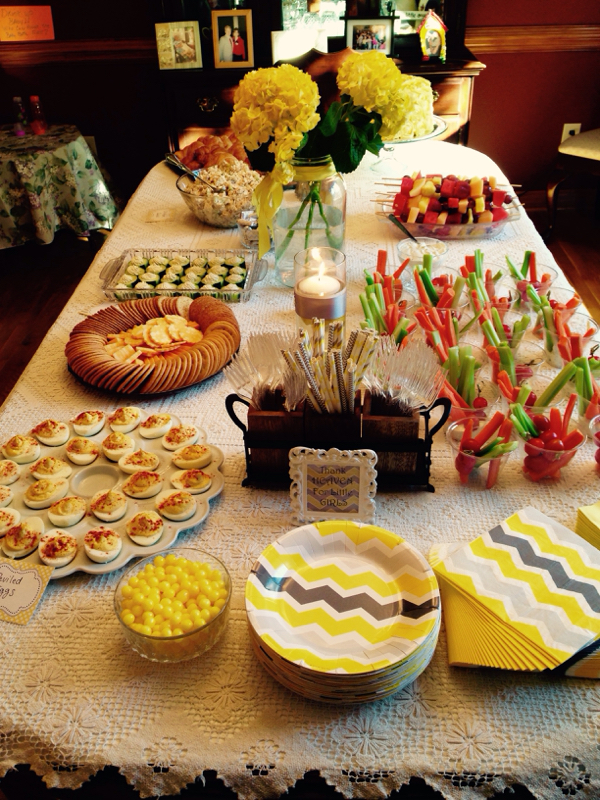
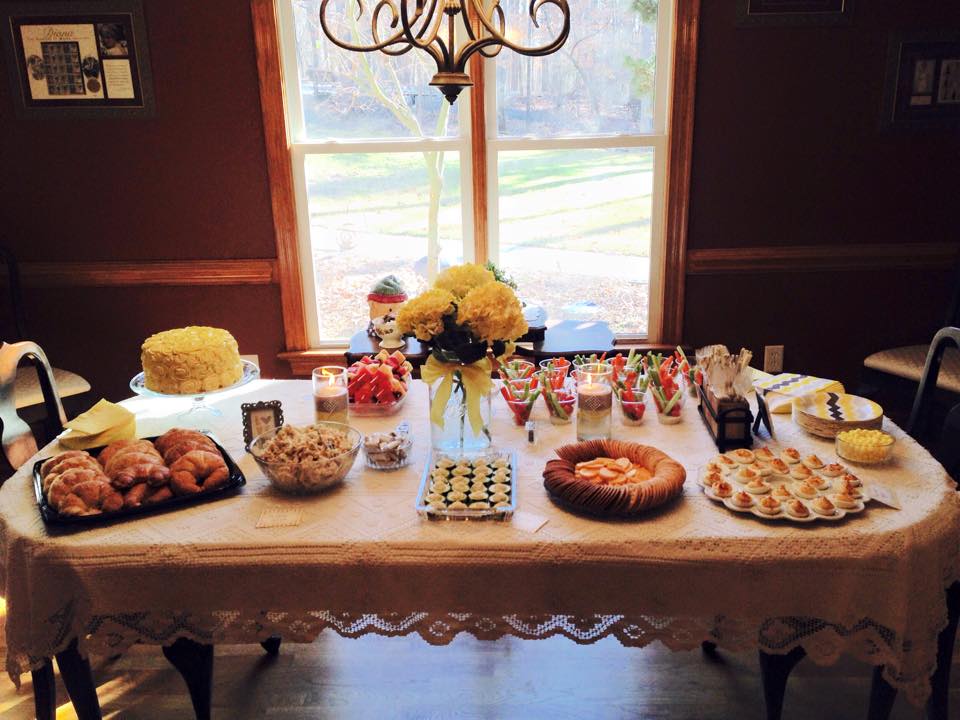 My mother and I threw a baby shower for my cousin this weekend. My cousin is having a girl and we decided to use her nursery colors for the shower so that she could reuse the decorations for her nursery! Planning this shower was a blast and it was fun to not do the overused pink theme. After all, babies can wear more colors than just pink & blue! 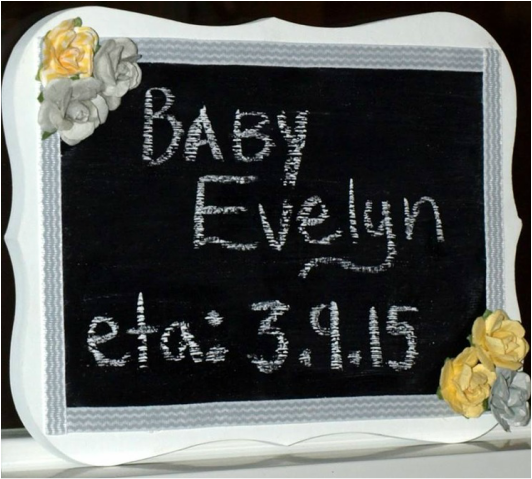 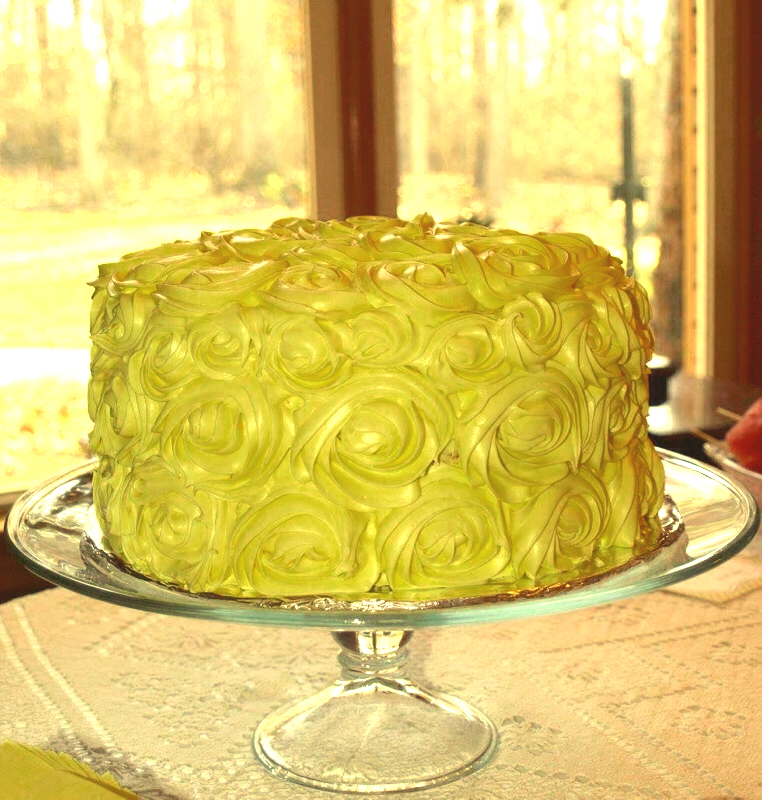 The cake was rather simple. I just baked 4 9" round layers using Betty Crocker vanilla cake mix. For the icing I used canned vanilla icing with yellow gel food coloring. I covered the whole cake in the frosting before I piped on the roses. The roses were piped on with a large star tip in swirl motions. Supplies:
   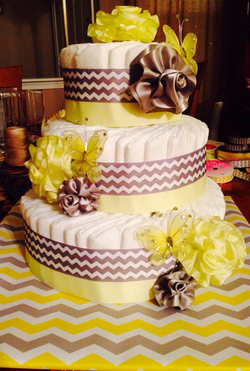 I found a tutorial online for diaper cakes. I used newborn size pampers in this cake. I bought the box of 88 diapers and used half for the bottom layer, 2/3 of what was left on the middle, and the last few on the top. I stuck a paper towel roll in the middle of the bottom two layers. My mother handmade each flower from gray & yellow ribbon. 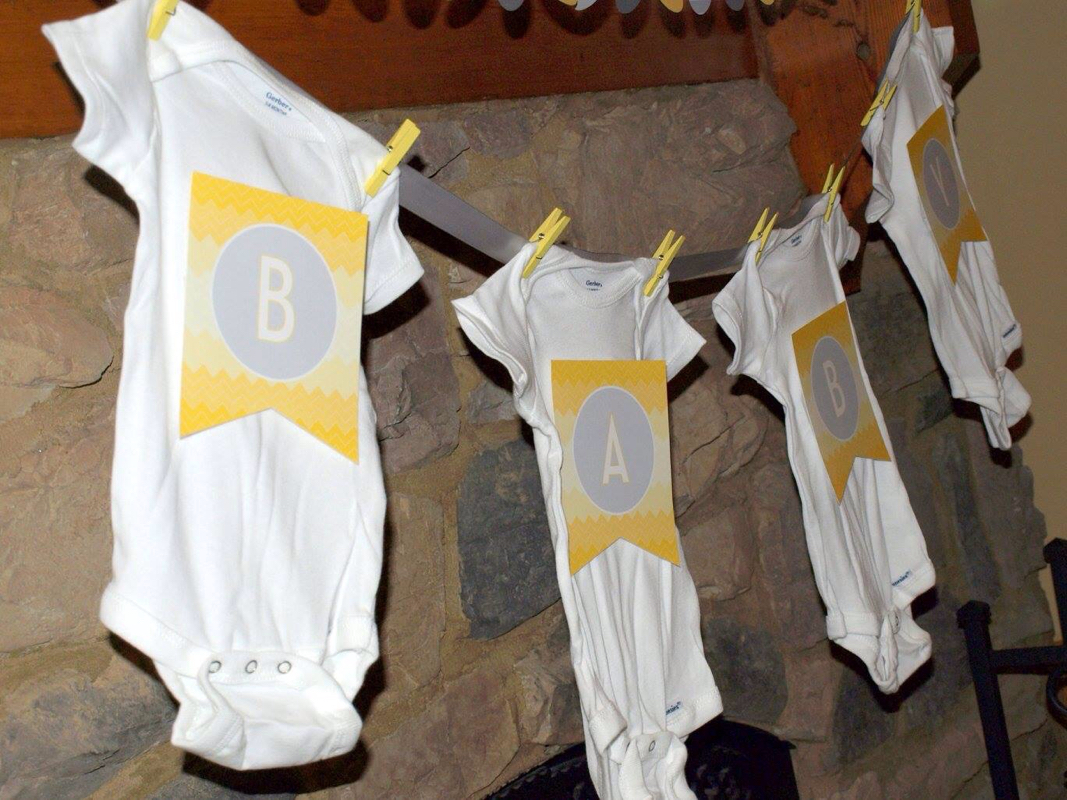 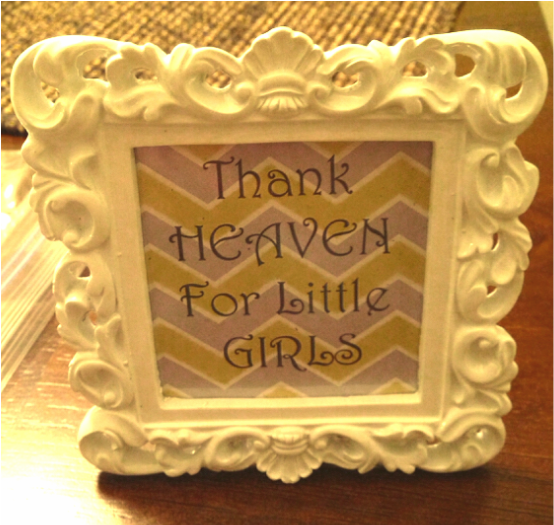 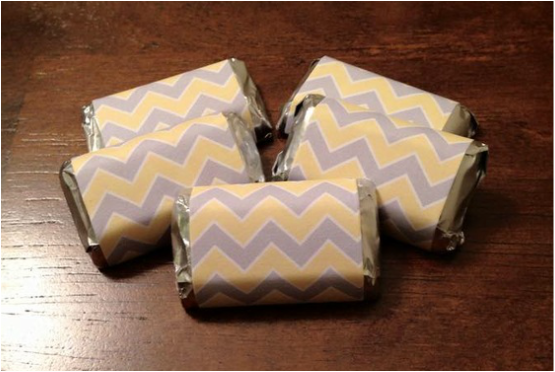 Click the picture to download a template for these hershey miniature wrappers! 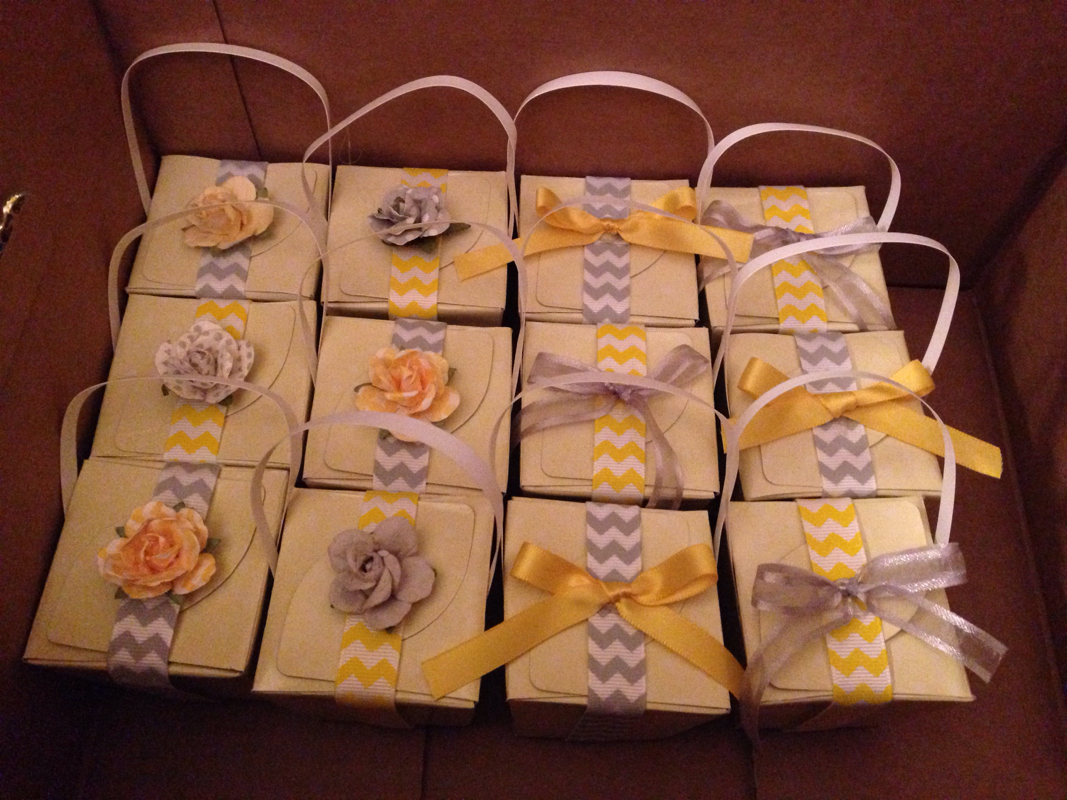  |
Archives
July 2017
Categories |


 RSS Feed
